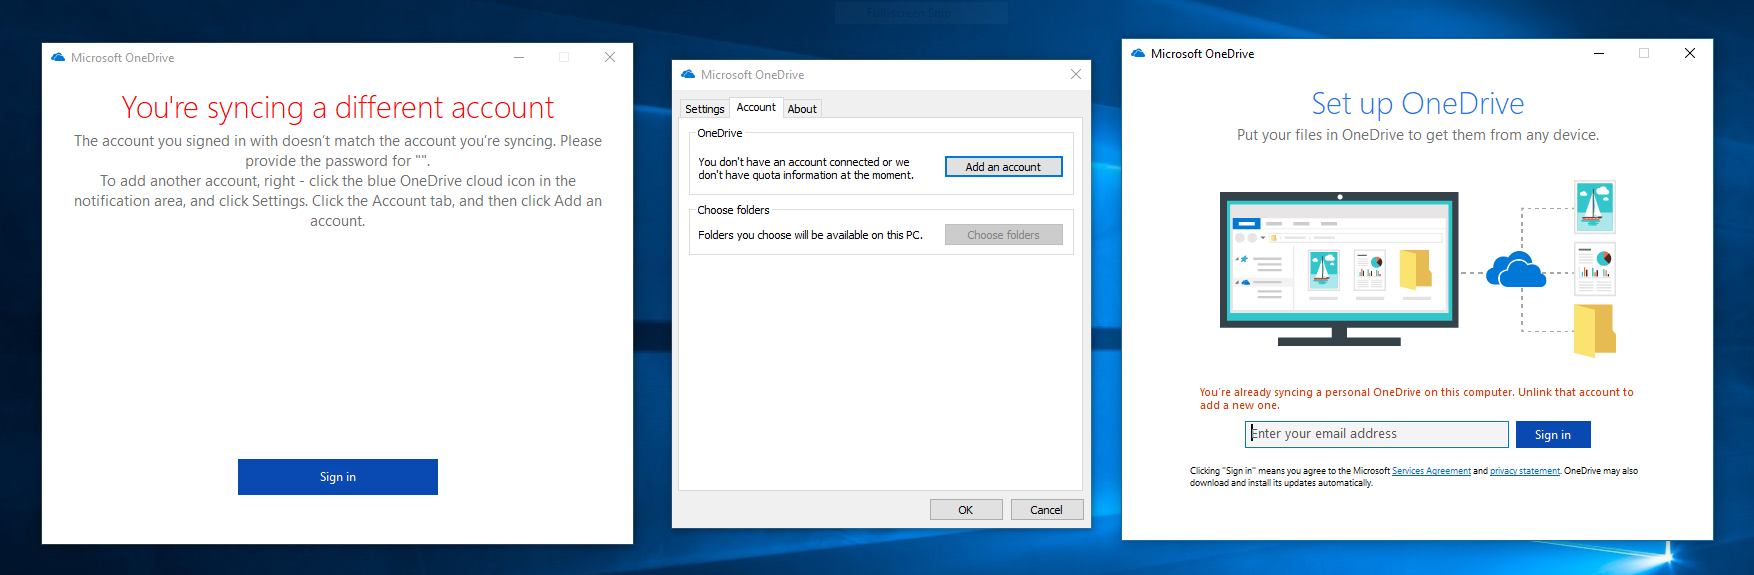
The OneDrive app on Windows 10 simply loves throwing up annoying error messages, complains its up to date and not up to date or claims you’re already logged in and not logged in at the same time. Rather than wasting time trying to identify what has upset OneDrive this time, it’s best just to wipe it off your system and start anew with a fresh configuration. (I’m not one to recommend this approach to such problems lightly.)
It’s possible to reset and reinstall OneDrive using nothing but point-and-click tools. However, the instructions to achieve this would fill a small book on its own so I’ll show you how to do it with just a few commands in Windows PowerShell instead. Go ahead and open Windows PowerShell from the Start menu. You can just copy and paste each of the below commands verbatim (each command is one line separated by an empty line), but please read along to understand what each command does.
The first step is to stop OneDrive’s background process and then tell OneDrive to reset itself. This will often not work, but as you can see from the command arguments we’ll tell PowerShell to give it its best shot and ignore any error that might occur. We’ll deal with resetting everything properly in the next few steps anyway.
Stop-Process -processname "OneDrive" -ErrorAction SilentlyContinue
Start-Process "$env:LOCALAPPDATA\Microsoft\OneDrive\OneDrive.exe" /reset -ErrorAction SilentlyContinue
Next, we’ll delete all the system registry keys (settings) and files that OneDrive has installed. This is just modifying things belonging to your user account, and isn’t modifying the operating system itself.
Remove-Item -Path "HKCU:\Software\Microsoft\OneDrive" -Force -Recurse
Remove-Item -Path "$env:LOCALAPPDATA\Microsoft\OneDrive" -Force -Recurse
You can ignore any errors from the first command. However, if the second command issues any errors you’ll need to address them. Find Windows PowerShell in the Start menu again, right-click on it and choose Run as administrator. You then rerun the last of the two above commands in the administrative PowerShell. Once that’s done, you can close the administrative PowerShell and continue in the regular PowerShell window you opened initially. You may sometimes need an administrative PowerShell to do this step because of a bug in how older versions of OneDrive were installed.
As you’ve now cleared out all settings and installed files, you should move aside the old OneDrive folder. This assures that you’ve a backup of the files and that OneDrive can start syncing to a new empty folder. You can copy over files from the backup folder and over into the OneDrive folder if you notice anything missing after completing the tutorial.
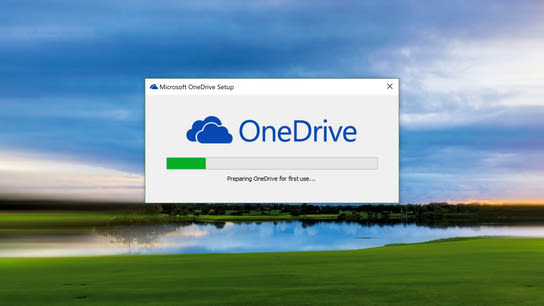
Move-Item -Path "$env:ONEDRIVE" -Destination "$env:ONEDRIVE Backup"Lastly, you can initiate the OneDrive setup process. You should see a progress bar that tracks the installation process. This can take a few minutes.
try {Start-Process "$env:SYSTEMROOT\System32\OneDriveSetup.exe"} catch {Start-Process "$env:SYSTEMROOT\SysWOW64\OneDriveSetup.exe"}Once the installation is complete, you’ll either be logged in to OneDrive automatically if you log in to Windows with a Microsoft Account or you’ll be prompted to login manually if you use a local Windows account. In any case, you should be done at this point. Don’t be alarmed if you see the OneDrive icon disappear and reappear several times from the systray; it’s just busy restarting a few times on its own to complete the installation and configuration.